I was so excited to test out this product. There is nothing to add to Ravens very accurate review of this on the first page. I was interested to see how this product worked for a detailed mulit-layer carving so I'd like to share my results with you all (even though it's not a ZP design

).
I'm a
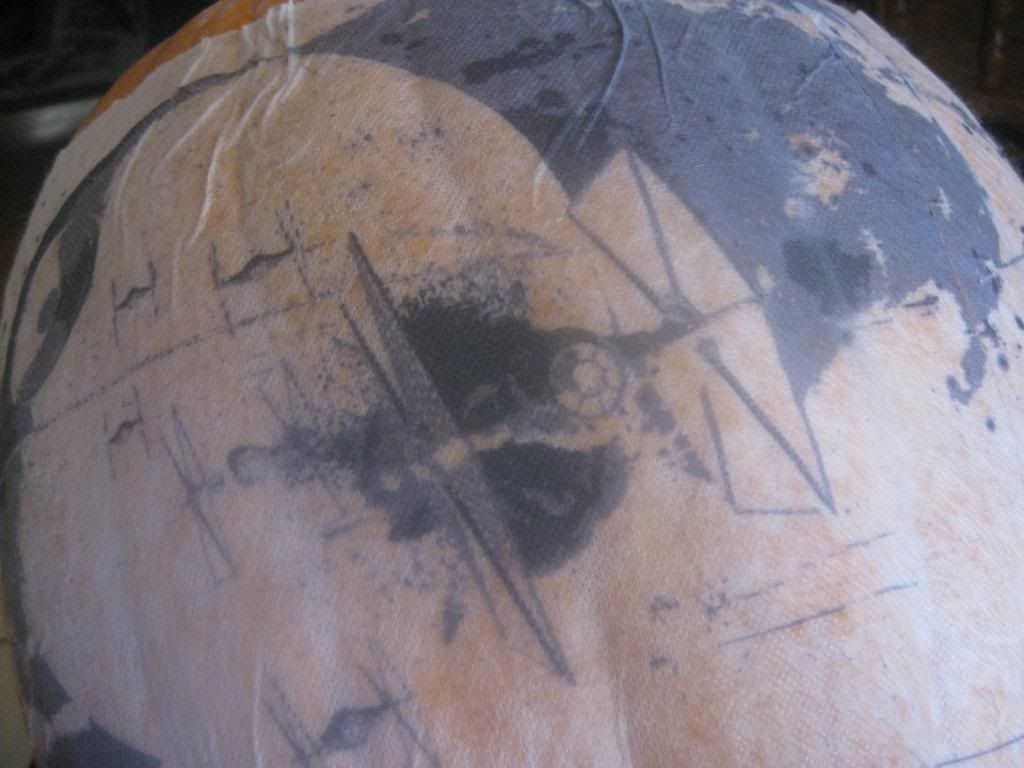
HUGE Star Wars fan. The Pumpkin Walk I carve for had a Star Wars theme and this is one of my contributions. I thought we needed a space battle so I worked out a pattern from a picture online. In the past I would have printed this on paper and glued it to the pumpkin. I've had my own issues with that so I was eager to see how this would hold up. As this was a detailed design I had the image blown up and used two sheets end to end to fit the design on the pumpkin. A wonderful feature is that you can add the wrinkles in the paper wherever you choose to keep the integrity of the design intact.

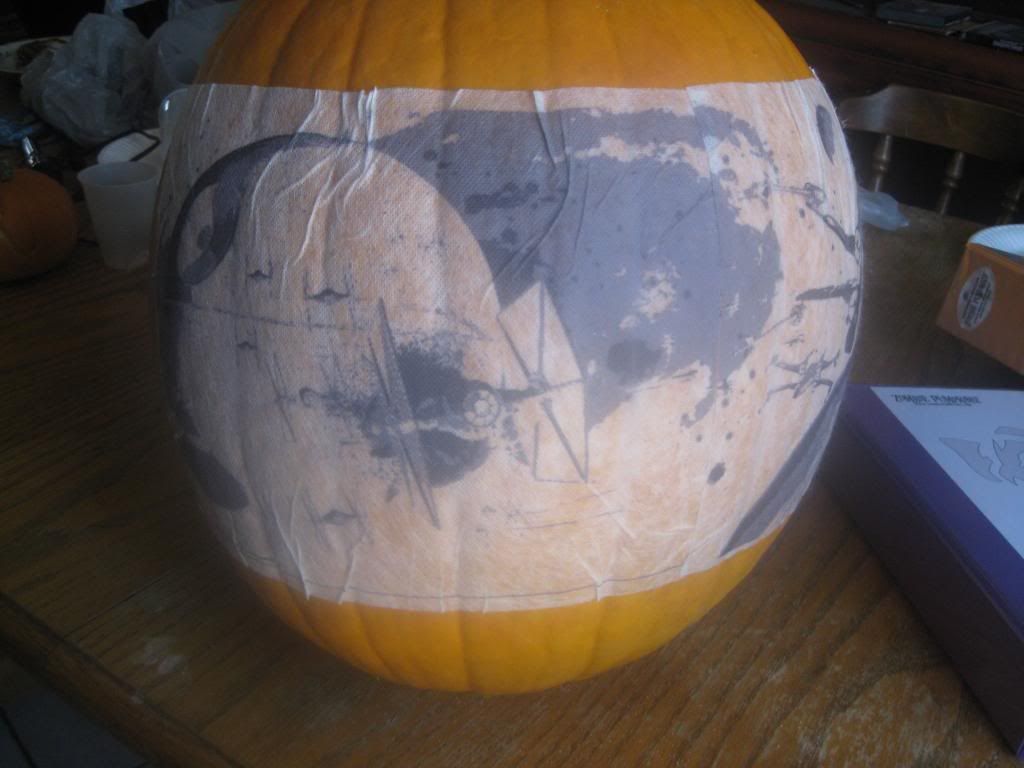
Here's a close up of the pumpkin. I won't deny that this intimidated me a bit!

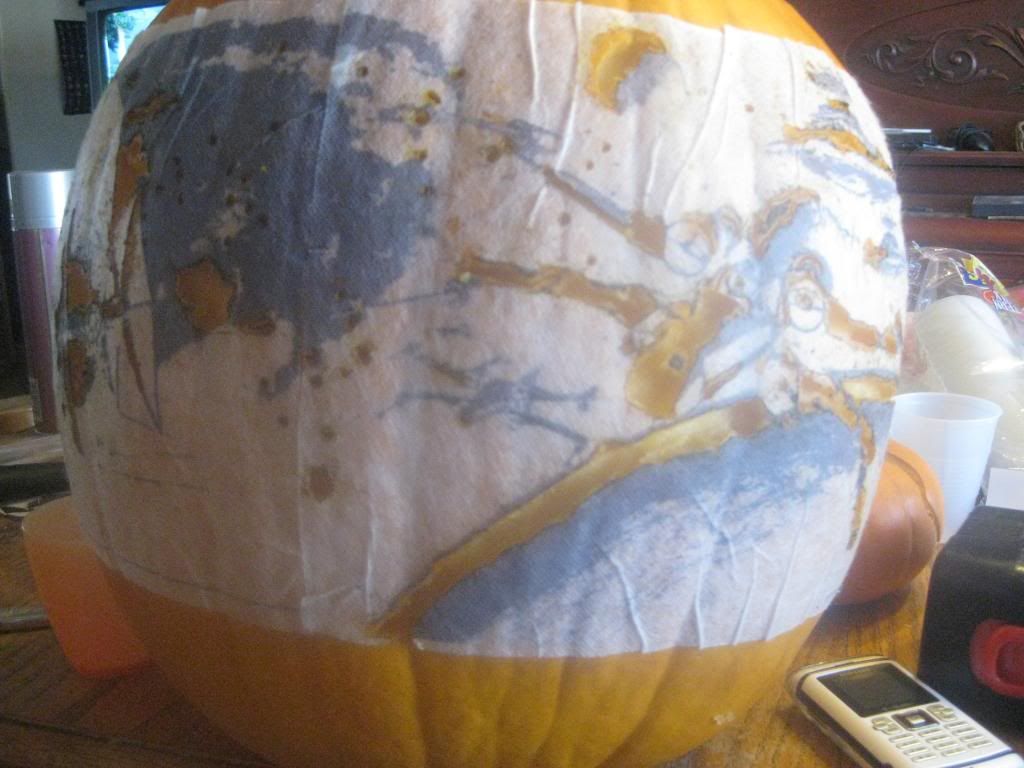
As I carved I could the dissolve as was mentioned before. I kept a blow dryer and a dry cloth on hand to blot the areas just after carving them. This is taken after I finished the first deepest layer.
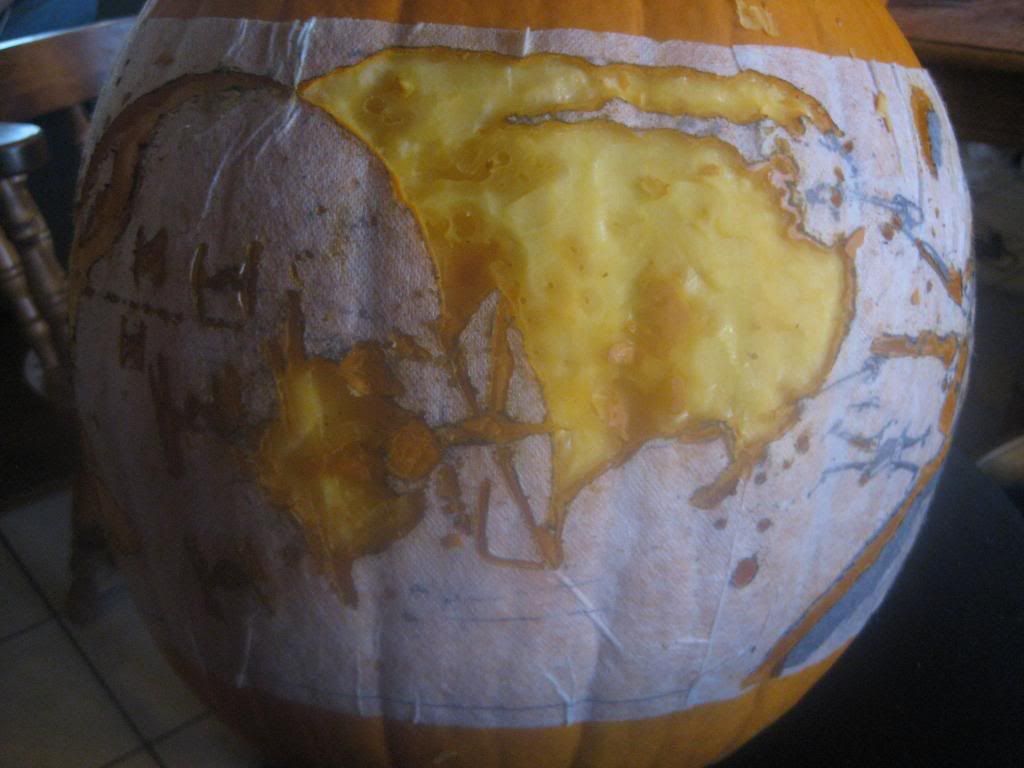
This second layer was harder as there were more details involved in this step. This is when I really noticed the dissolve to greater hinderance. However in a way this was helpful. In the past doing these kinds of patterns with glued on paper I would have to stop frequently to clean my dremel bit of paper. I had to do that far less frequently with the fabric dissolving. Another benefit is that glued on paper had a tendency to flake off in large chunks leaving me to extrapolate the design as best as I could. The adhesive on the back did a great job at staying put while I was carving.
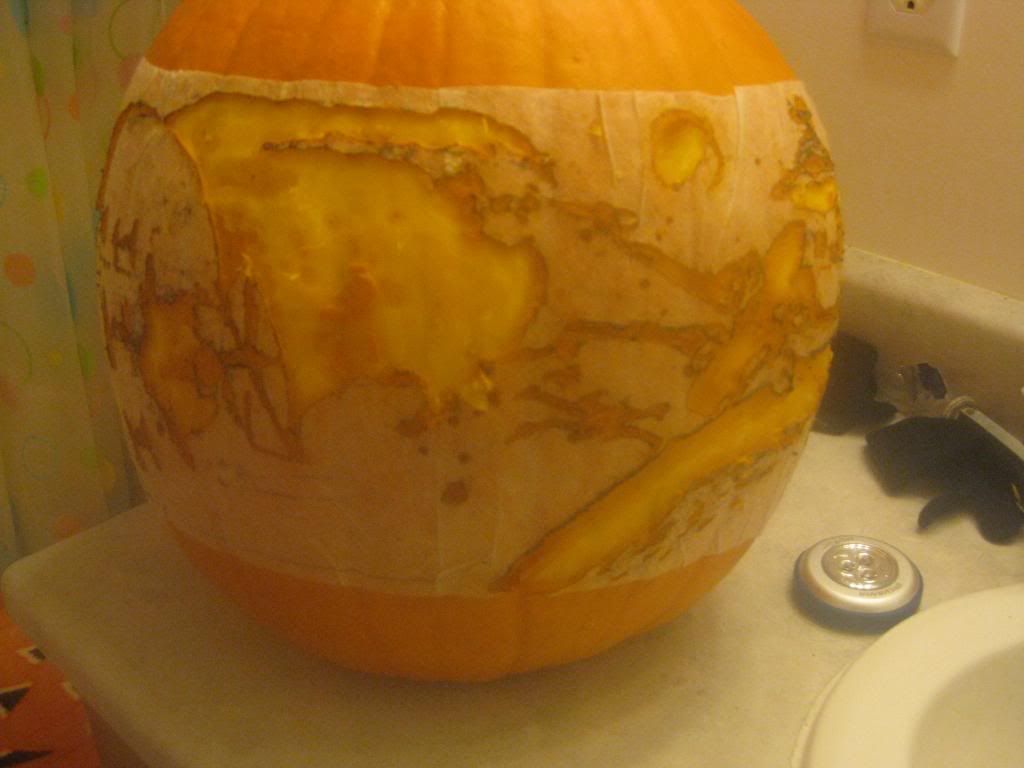
After that step I heaved a huge sigh of relief! I only had 3 1/2 hours to finish this so regretably I had to leave out some smaller details to finish in time. If I were to carve this again I would spend more time on it for those. Now I just had to smooth out my cuts and make sure my depth was even.
One other feature I
LOVED was that the fabric did just dissolve with a bit of rubbing. I didn't have to worry about cleaning out all my cuts with toothpicks just to get rid of the pattern paper.
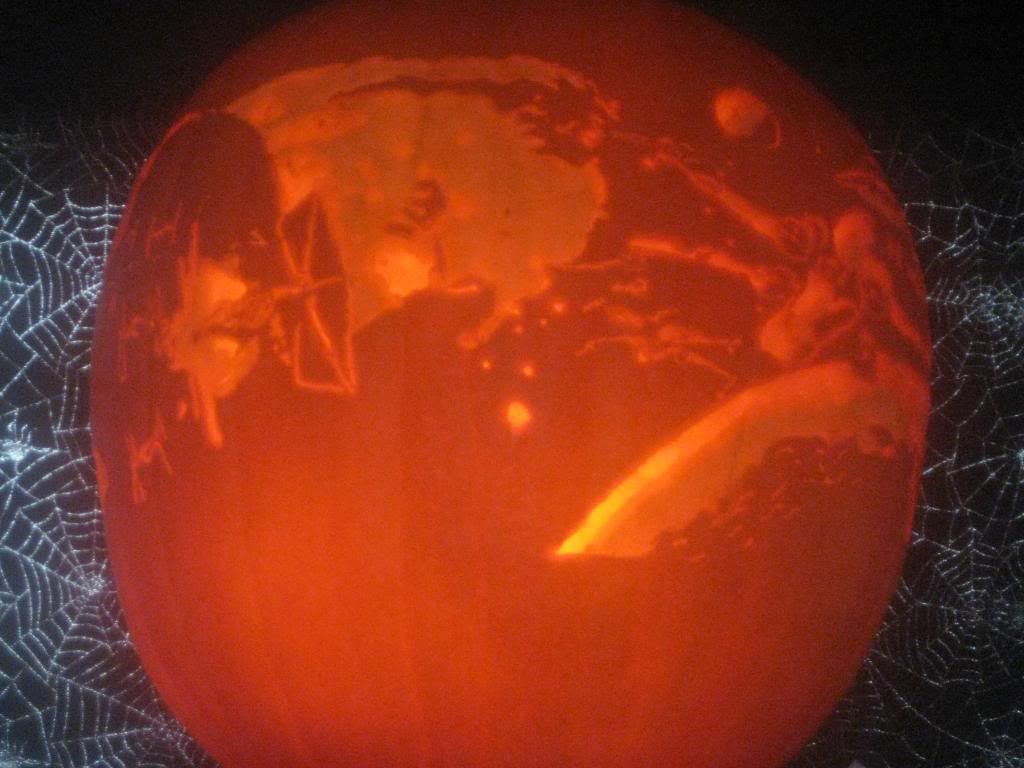
So the finished result! Right side:

The left side:
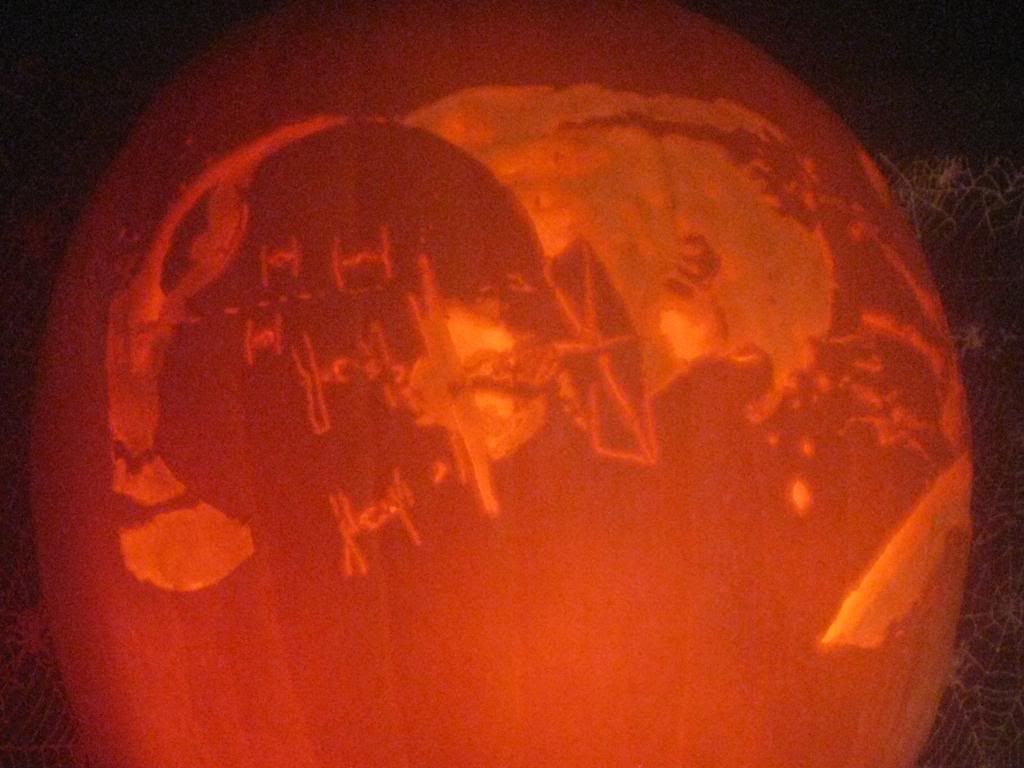
And center of the pumpkin:
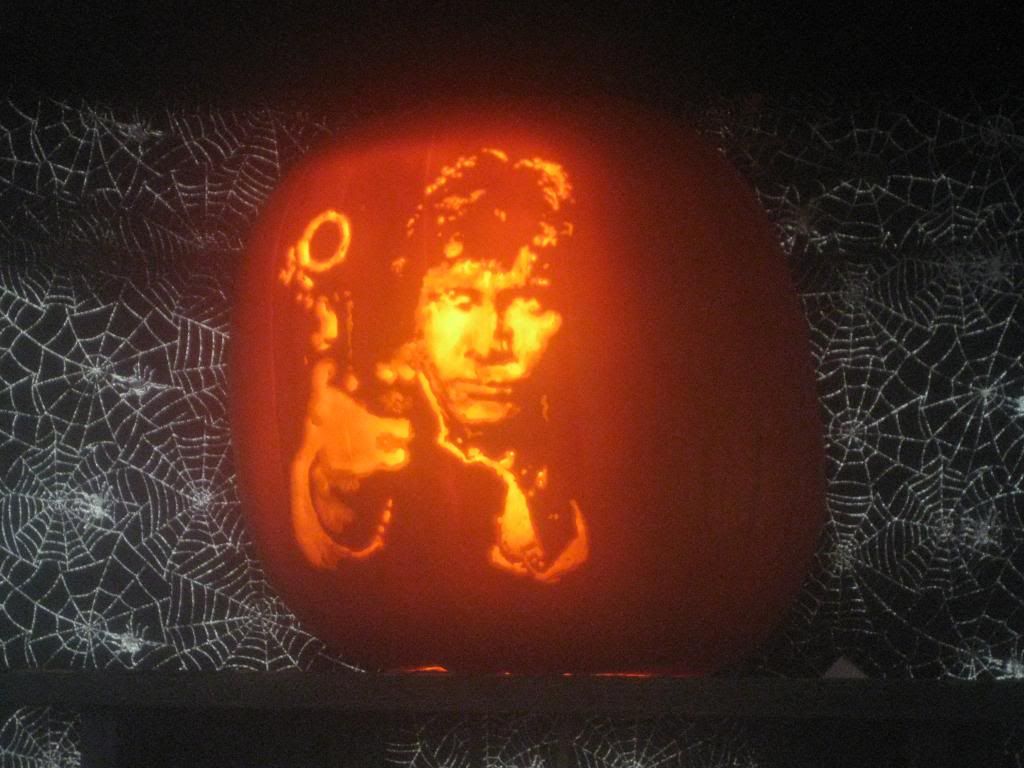
And this is a Han Solo I also carved for the walk using the stick n carve:
In my experience and the type of carving I like to do this far exceeds the paper/glue on method for me. My final word: Until such time, if ever, that we can actually print our patterns directly on the pumpkins themselves this is the very best transfer method out there.