Trading tips for dark displays and prop production.
User avatar
By SaneInsideInsanity
#23979
Loving it so far i personally think you could do without the texture or just do it on the corners to save time but still but a bit of detail in.
User avatar
By nosferatu
#24023
Plastikote do a stone effect spray paint which is extremely effective and adds both colour and texture. The results are excellent. It might be a bit pricey though
User avatar
By Zombie Pumpkins!
#24067
Mark, your foam experimentation is looking great! You seem inspired this year, and have a good early start, so keep going! That ball shaped sander bit for your drill seems to work great for carving out some stone shapes quickly.

I like the "stained" look of the paint running down the stones in that streaky way. I'm reminded of when I painted my zombie costume. I used water based latex paint and after I applied it, I sprayed a mist of water on it with a spray bottle. This allowed the paint to thin out and drip down in a realistic fashion. I'm not sure if this would work in your case, but I thought I'd mention it. It would require you to lay down a tarp to catch the drips.

Image

Also, I believe some spray paints (due to the chemical within) have the effect of eating away at foam. Can any of our tombstone makers testify? Spraying on some paint in that manner might also distort the foam in such a way to add a bit of warped stone-like texture.

Again, I haven't done this exact thing, just tossing out ideas.

Oh and wow, look at all those pumpkins you got! I hope they last and treat you well. I remember you running low on carving canvases last year, but you look all set this time around.
By Ajax
#24116
Your dry cleaning bills must be huge.
User avatar
By SaneInsideInsanity
#24171
The stone spray paint doesn;t show up that well on styro and it eats away at it pretty bad. I used it a few years ago and did not like the outcome overly much it also took 4 cans more to do 6 tombstones then it normally does.
By GUS
#24225
may I suggest, (ie untried) Mesmark obtains a big bag of papier mache powder gloop & trise a basic thin skim , then can spray anything he likes on it, still stays light but tougher than before)
you can get it in big old bags (just add water) rather than the laborious cut & mix of old newspaper
By Joey
#24414
I can vouch for the awesomeness of paper-mache to reinforce styrofoam! I've been using it to make lightweight costume props for years. You don't even need to buy specific goop, Just flour and water with a touch of salt to avoid mold will get it done. Once it dries it can be sanded for a smoother finish, or left as is for some texture.

The only problem I've found is that it tends to crack after a bit, but it's nothing that can't be touched up with a bit of paint.
User avatar
By SaneInsideInsanity
#24457
Gonna have to try that for the mausoleum great tips guys
By GUS
#24461
check out ebay or my friends at AMACO (craft website)
User avatar
By mesmark
#24812
Thanks for the feedback and ideas.

Here's where I stand so far ...

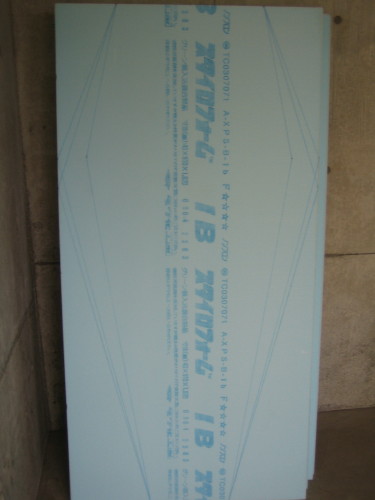
I had to wait for the styrofoam boards so I couldn't work on the castle wall. Well, I decided to make a coffin scene as well. I also have a coffin game I'll use at my party.

Here is the plan.
Image

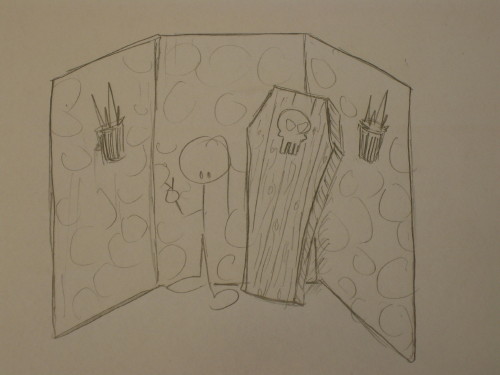
I'm going to make the wall for that scene first. It will go in the corner of the room and just be 3 pannels. That ought to give me an idea about how to tackle the big wall.

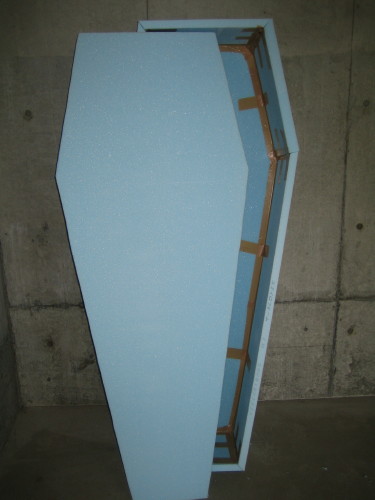
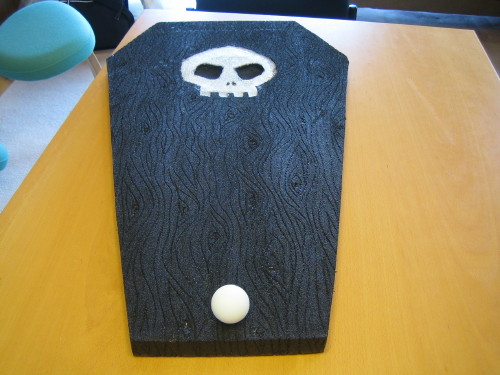
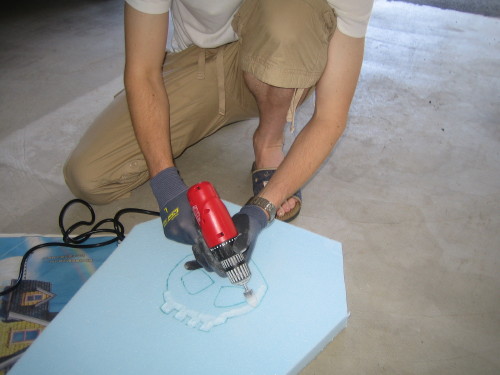
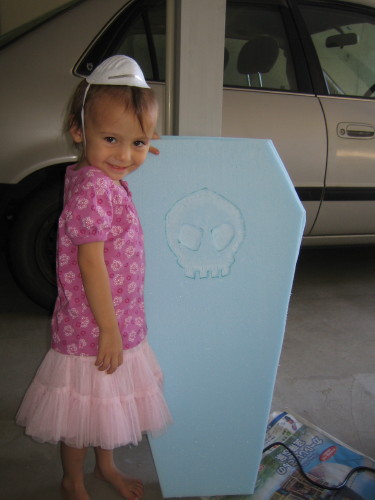
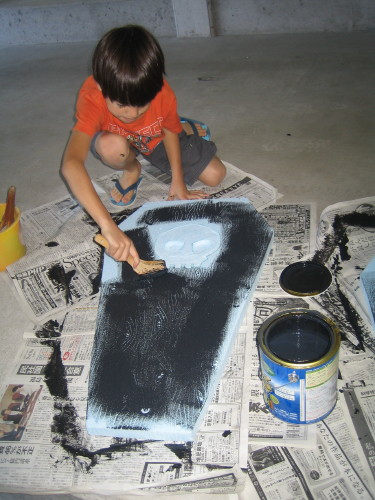
Anyway, made me a foam coffin.
Image

Image

Image

Image


Image


Image


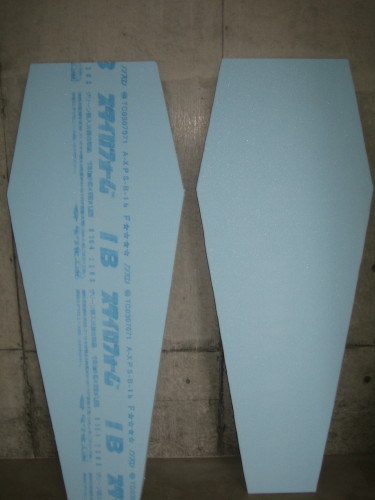
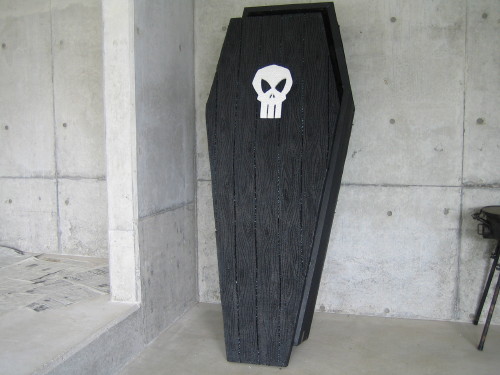
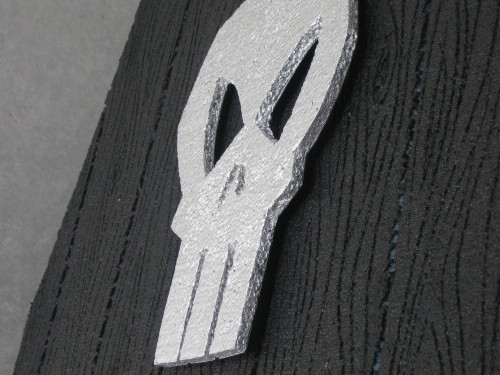
I was thinking about gluing on the little skull design, but i decided to glue the foam piece to hard card and just stick it on. That way I can take it off easily if i decide I don't like it. Also, I raised it off the coffin a bit to give it some depth.

Image

Image


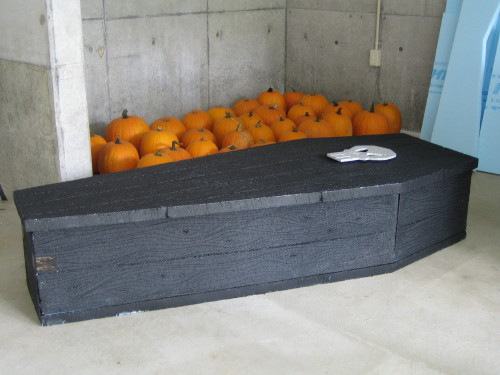
So, for a game i made some smaller coffin lids.
Image

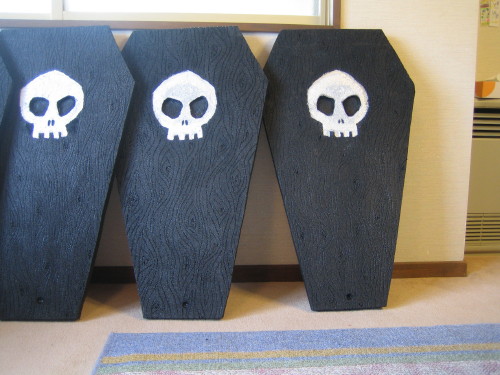
Kids at the party will place a (ping-pong) eyeball at one end and have to roll the eyeball into the skull's sockets to get a prize. Older kids will have to roll 2 eyeballs.

Image


They looked a lot better on paper, but they turned out OK. Plus the kids got to help a little and they were pretty excited about that.

Image

Image

Image

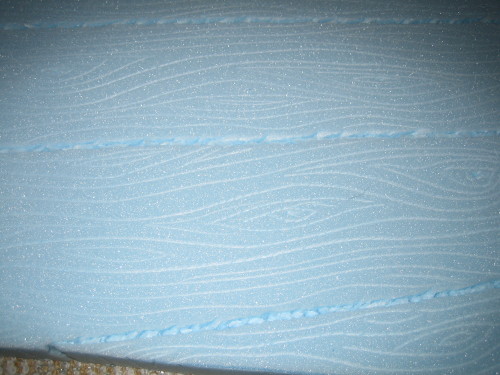
Anyway, after doing all of that, irealized what a pain it would be to both add texture AND paint all those nooks on the big wall. So, I'll try the little wall first without texture.

I almost gave up the whole project and went with this.
Image

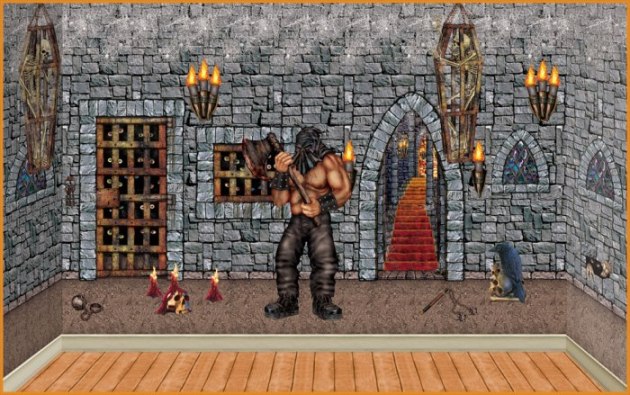
but those scene setters don't look very good in pictures. Plus, even if it doesn't turn out great, it will be unique. It's also nice to make it yourself instead of just buying it.

Next, I'm going to work on the wall torches. I couldn't find styrofoam cups like i had planned but i found some small popcorn buckets that ought to work with a little help.
User avatar
By Zombie Pumpkins!
#24824
Wow Mark, things are really coming together. I must say, I'm pretty inspired by your full size coffin. I've wanted to make a "real" wood one for some time, but as I don't have the means to do that right now, maybe I should try to foam board idea. Looks fantastic. Did you create all the wood grain with that same sanding drill bit thing?

Look at the kids helping with the coffins, you must be so proud. :D

Keep at it. Don't get discouraged. It might be a big project, but it is more fun when you make it yourself. Keep sharing pics and asking for ideas, we'll all be sure to encourage your efforts.
User avatar
By mesmark
#24827
I did all the wood grain with a screwdriver that I just drug over the foam. It worked pretty well. I did the same for the spots between the boards, but I just pushed harder. Actually it didn't work very well for between the boards, so I used a wood spoon handle and went over it again pushing the foam in farther. It was good to do it in that order, screwdriver then spoon to get the sharp edges for the boards. The foam actually doesn't like to be pushed so it breaks and made some nice jagged edges along the wood planks.

Image

It actually might have been good to get in their and sand those grooves between the boards because pushing it in made for a lot of small crevices (here the foam broke below) which I couldn't get paint into very well. ialso ran out of paint and will have to go back and cover the tape parts better plus get some other spots.

As a prop, it's OK. I actually imagined it would be a little sturdier. I knew I wouldn't be able to use it, but I thought maybe I could put stuff in it.

I can put stuff in it when it's stored but I can't move it with anything too heavy in it. Wood would have been better but i don't have any tools to work with real planks (I was thinking about investing this year, but didn't.) Also, real wood would be pretty heavy and hard to move around by myself.

Anyway, as a prop it does the trick
zombiepumpkins wrote:Keep at it. Don't get discouraged. It might be a big project, but it is more fun when you make it yourself. Keep sharing pics and asking for ideas, we'll all be sure to encourage your efforts.
Yeah, I had to remind myself that it's fun and I still have a lot of time. I don't want to burn out in Sept. like that British bloke ... What was his name? :lol: :P

Actually, it's storing all those pieces after Halloween that I'm a bit on the fence about but I have a new house with loads of unused storage. I guess I can fill it up :)

Or toss the stuff in the future if need be.
By GUS
#24832
Mark, that is amazing! ..I reckon you have lumbereed yourself with the position of expert coffin maker!
(the pic of your daughter with the mini lid was awesome, reminded me iof a coffin boogie board)!

Wow! ..going all out to impress this year evidently, be proud! (i'm jealous) ...definitely looks better witha raised skull, good foresight on that too!