Sat Aug 20, 2011 9:14 am
#49387
Ok, i've been thinking some more as to reduce weight effort & for packing away purposes, depending on how much is to be visible / walked through.
I think that IF the gates are not to be walked through then we can actually sinply use polypipe right angle supports clipped (therefore removable instantly) to 6 mm hardiebacker cement board ((use a good mask, silica haz if you are daft))
The hardibacker would be good weighty & stable a point (& weatherproof) to build your wall effect against, we use it for floors, wall tiles, plasterboard replacement, allsorts really.
to cut rough edges use some decorating blades,,, straight isn't necessary as you'd use no more nails & silicone on this wonky wall..
I would use a drape for the rear of the wall (the top would overhang) & stick a greyed up set of sheeting over the backside to hie pipes & carry along the basic illusion to hide construction.
Simply use ground hoops (similar to croquet), to pin your wall in place along it's length, along with a few weighted bags of earth / sand etc..
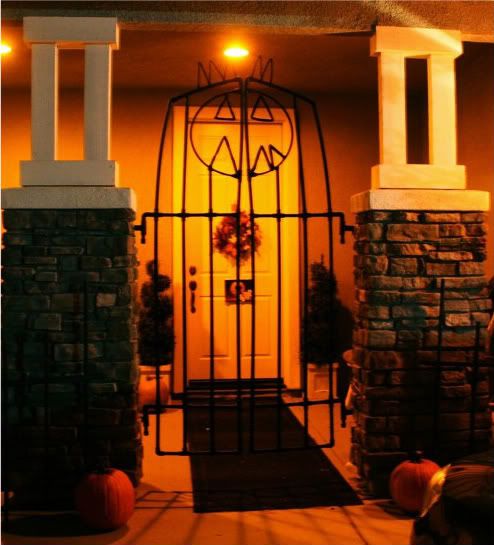
Do the same for the pillars (ie with hardiebacker 250 (6mm) OR the 500 version which is 12mm, & would add to the support overall, a basic weighted bottom & groundspike of some sort still recommended.
However I'd say you could knock up the basic frames of the pillars with 3 sheets & 1/2 a day, meaning it's pretty fast assembly prior to the arty stuff (interesting stone cladding)
I would make it in box sections & consider making the stone to each section so it can be removed & stored without damage hopefully, joins could be shadowed / mossed out etc..
To fix the made up stone panels I would simply use a male / female connector technique such as picture hook style, (ie nodules on the backer board, screws, that are lined up to strengthened (clay or similar hook holes like you'd present a knife rack to having drilled the holes & inserted the screws in a wall...
BELOW IS THE CHEAPEST & SIMPLEST OPTION ?? (at cost to ease of storage)
Possible materials that could simplify a curvey wall & pillar base & would only cost petrol ....
A visit to a carpet shop for the massive (around 14ft) cardboard roll inners. take a saw & cut em down, bung them in the back of your truck! ..then you can make pillars with lean & sort a base straight out, plus you can arrange a series of shorter tubes as wavey as you like , then mount them on a base board before cladding with whatever you deem fit
the advantage of cardboard tubes is obviously zero cost & the circular structure is as rigid & supportive as heck, once laid out & a base is made to hold them in the manner you wish to siplay, cheap lots of expanding foam coul;d be used to build up shape & layer which could be carved within 24hr's before a basic papiermache is overlaid, of course this is the least packaway-able version, but we can't have everything, also pretty much self supporting.
obviously take into consideration base board strength, & weatherproofing / moisture inb your area over the winter months, this of course affects card strength, therefore laquer, infill, anything to keep moisture out, ..just a thought.
Hope you can see through my rambles it's far easier to sit & demonstrate with pics, materials, & a coffee in hand.
cost wise this option is how i'd go as ythe shape of the wall can be packed out with any light rubbish polystyrene to get basic depth & remains easy to sculpt.
No, i'm not back.
(unlike Jonny)