Trading tips for dark displays and prop production.
#76964
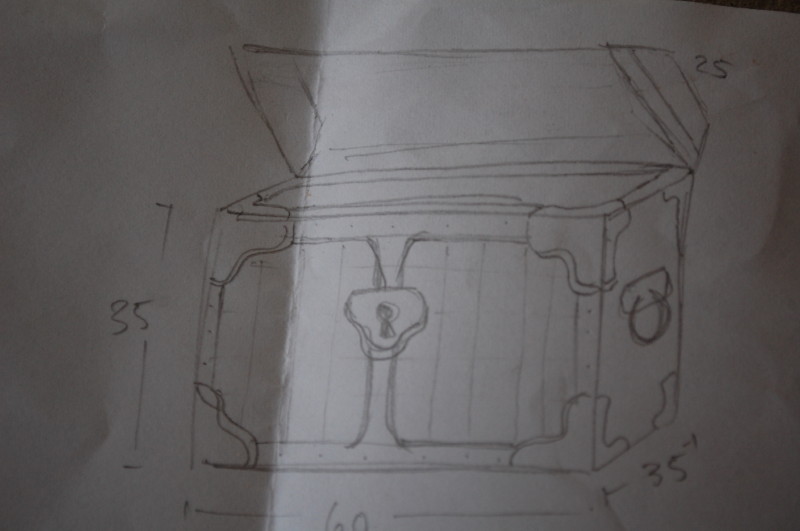
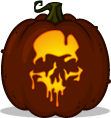
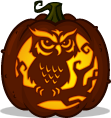
Well shiver me timbers. Cool sketches, mesmark. Reminds me what a talented artist you are, even if these are just rough ideas. I like your cartoony skull and crossbones.

I dig the idea of the colored backdrop with some LED spot lights for some color change in the sky. You can do a lot with lighting effects. I have no clue how to make the floor look like sand, good luck with that!

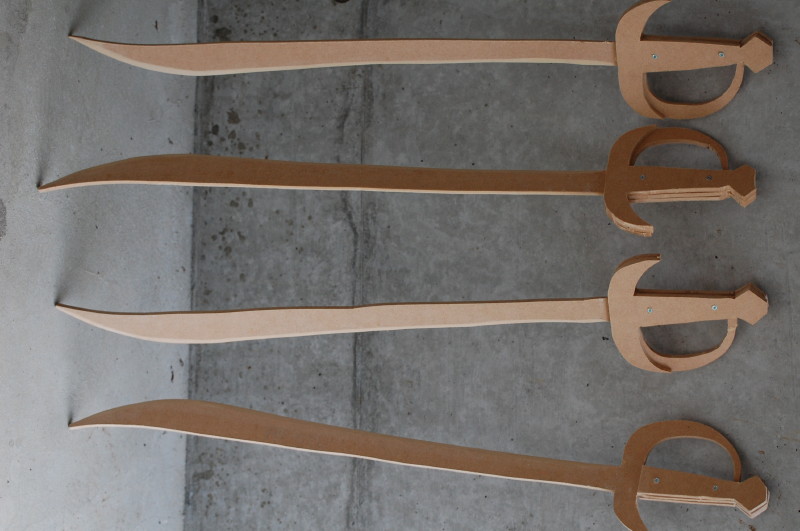
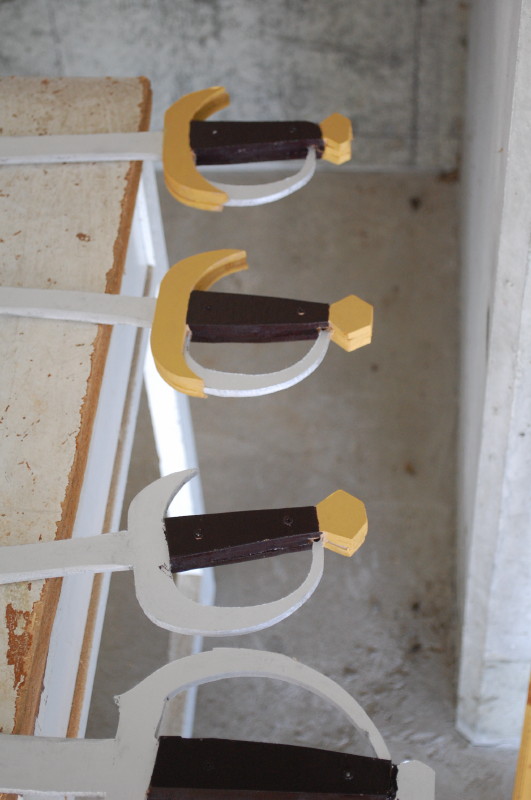
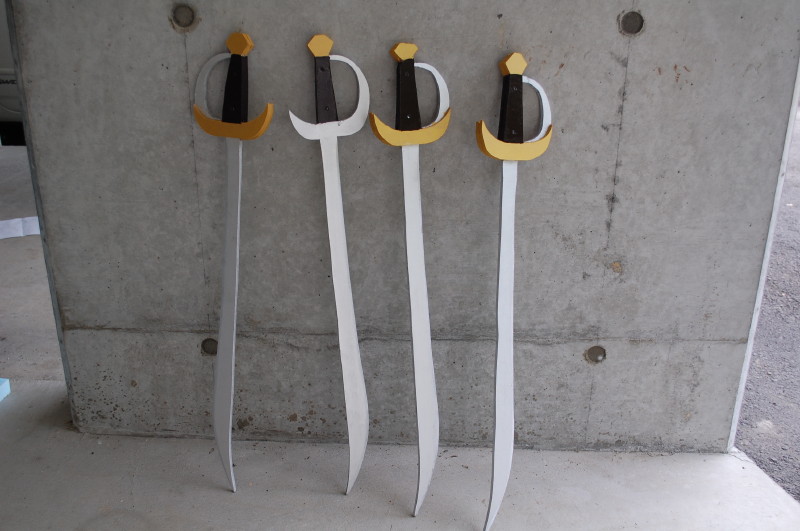
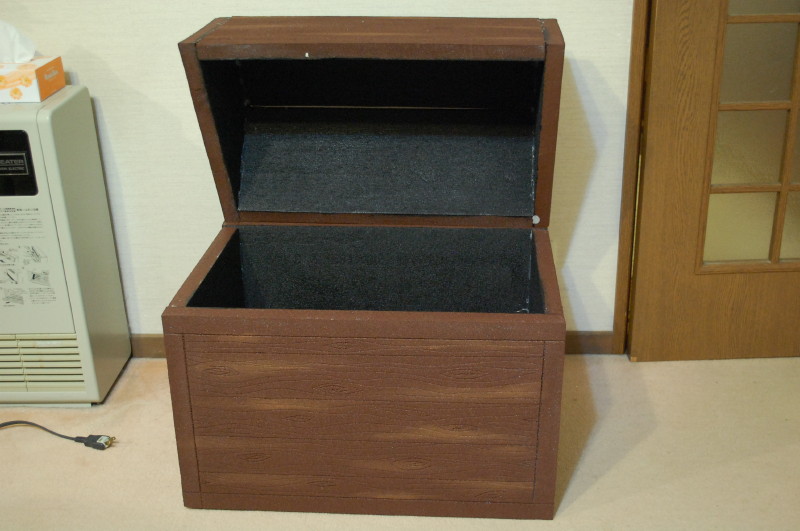
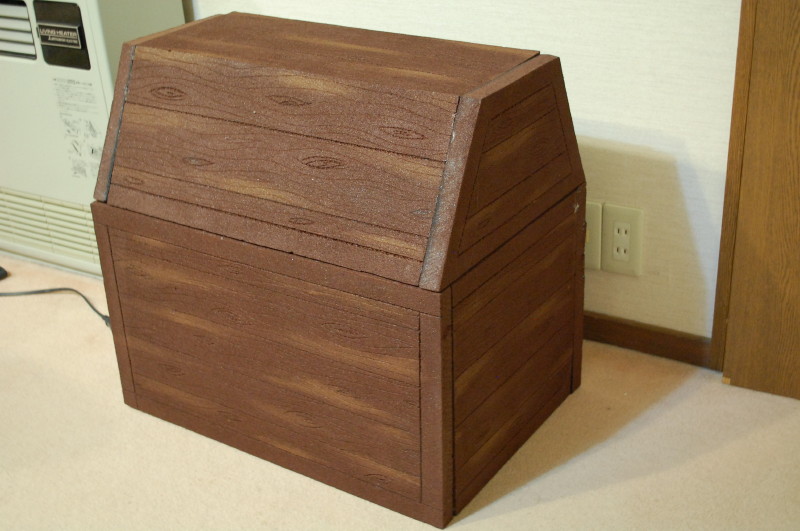
Any nautical props you could get your hands on can help fill out the area. As you said, crates, nets, bottles, etc. Maybe find some toy crabs. Seagulls. Treasure chests and jolly roger flags seem to be a given.

You can do lots with a pirate treasure map. That could be the invitation, or part of a game (like some little scavenger hunt).

For wording on signs, I've always loved "Dead men tell no tales." Which is apparently the subtitle for the next Pirates of the Caribbean movie.

Speaking of that movie series, the first will always be my favorite installment, because I love the idea of the cursed skeletal pirates. You should totally have skeletons. And ghost pirates. Makes the pirate theme even more Halloween-y.

Now get working on yer pirate lingo, ya dirty bilge rat, before you have a mutiny aboard your vessel.
User avatar
By mesmark
#76997
I had originally thought to have a pirate skeleton in a cage, as per the first sketch, but I might just have him on the floor with a rusty sword through his chest.

I might try to make a cannon with a broad PVC pipe and some foam or papermache. It seems like I could make something passable.

I can't believe it, but I found an actual ship wheel in a recycle shop about 20 minutes away. Looks just like this:
Image
image from Robin's Deckside Shop

but they want $250 for it. It's full size and awesome, but not really being so nautical myself, I can't find much use for it after Halloween ...
I might try to make a foam replica :D

For a beach, I might have an idea. In Japan, we have these large vinyl sheets people use for all kinds of things, but mostly for a place to sit on at picnics and outdoor events. They are cheap and so I tried to paint one. It seemed to work, but is was shiny. So, the new idea is to paint it brown underneath, but spread real sand over the paint before it dries. Then, I should have good texture and color with less mess and it shouldn't be too heavy.

More testing and maybe some production soon to come.
User avatar
By nosferatu
#77001
The sandpaper idea sounds a good one. The last thing you need after a party is clearing up bucket loads of sand.

I reckon you could make a ship's wheel using staircase spindles. Cut them down slightly and round them down into handles. As for the hub and outer rim that hold it together I haven't the foggiest, however, you always develop ingenious methods for your productions so I'm sure you could produce a wheel for the tenth of the cost of the one on sale.
User avatar
By mesmark
#77599
I've gotten a bit of work done. I started on Sunday and also did some work yesterday and today. Here are two things that I've gotten far enough along to show you.

the first set of pirate swords:

first draw your sword onto the high density fiber board
Image

a decent sized drill bit works wonders for jig-sawing out your sword
Image

and then you're done!
Image

and then you make more
Image

add a handle and paint them:
Image

The blade is folded steel. That's gold filigree laid into the handle and the tang is nearly the full width of the blade.
Image

I will make about 6 more, including some smaller daggers and the typical big blade pirate swords.

I also got some good work done on the treasure chest:

the plan
Image

the lid is the hardest part
Image

I use a wood plank to help keep my box knife perpendicular and keep lines straight. Also, I can kneel on the plank and not make indentations in the foam. It's also good to place cardboard underneath so you don't scar the surface under the foam or in my case, break your blade as it bangs into the concrete below.
Image

the lid was tricky. a curved lid would have been awesome, but a lot more work. I did this quadrilateral lid because I thought it would be easy. I didn't measure any angles, just sort of cut and went with it. I cut the sides first, and then the front, back and top. However, getting the angle square to meet the base was important. So, I use a yard stick to keep the blade on line, and I use a 1x4 underneath to keep a straight line on the bottom.
Image

the painted pieces:
Image

Here it is so far:
Image

Image

I still need to add the gold trim, handles, corner ornaments, a lock, hinges, and maybe a skull and crossbones to the lid. Oh, and treasure ... We've ordered some gold paint and so I'm waiting on that for the time being. That's OK because I won't have time to do more work over the next few days.

I have cut and glued together the pieces for the pier posts. I need to let them dry and then I can paint those.

Still lots to do, but it's nice to get a few things out of the way.
Last edited by mesmark on Thu Sep 12, 2013 9:35 am, edited 2 times in total.
#77638
Oh, is that all you've done so far, mesmark? Pssh. :roll:

Seriously, you are a pro at this stuff. You have the planning skills and vision to attack each project in a way that simply gets things done. Takin' care of business!

Love your use of folded steel and gold filigree. :lol: It will be a shame when these swords are run through the chests of filthy marauders, as these weapons are worthy showpieces to hang in an art gallery.

By the way, I appreciate that you post photos of your process, from sketch, to assembly, to paint, to final product. I'm sure it serves as good reference for you when planning your future projects. But it's also educational for anyone who may stumble upon this topic and want to create something like you do.

On more than one occasion I've had someone ask me how to build something, and I've referred them to photos you posted here on the forum.
#77649
nosferatu wrote:I reckon you could make a ship's wheel using staircase spindles. Cut them down slightly and round them down into handles. As for the hub and outer rim that hold it together I haven't the foggiest.
I do have an idea. My gut instinct tells me that an easy way to go about it (and probably cost effective) would be to take an old plastic ring, you can find various forms, even a life saver would do.

Image

These are typical of beach toys, and could easily help make your wheel. And use the suggestion from Nos and your set!
#77650
mesmark wrote:The blade is folded steel. That's gold filigree laid into the handle and the tang is nearly the full width of the blade.
I got a chuckle out of this :lol:

Pirates of the Caribbean: The Curse of the Black Pearl

Great work so far mesmark! I'm sure that this will turn out great!!
User avatar
By mesmark
#77655
RavensDestiny wrote:I'm always amazed at your work, Mesmark! This has me curious now as to what you do with all the props that are specifically themed from different years? Do you have a giant prop warehouse now?
Thanks! It's fun making all of this stuff, but I'm not so good at recycling pieces. The haunted house backdrops and accessories will work any year as decorations here and there, but my Egyptian theme decorations just sit in storage. It was a reason I moved more toward cloth backdrops and decorations. Cloth you can fold up and store, but a foam sarcophagus takes up a bit of space.

I may have to part with some things pretty soon: the stone walls for my castle, the sarcophagus and Anubis statues are the first on my list. I could make the stone walls again fairly easily with fabric and I can't see us doing another Egyptian theme party. Also, it's been a long time since I made those and I've slightly forgotten how much work those were. :?
Nightwatchman wrote: What material did you use for the chest?
I'm back to foam. It would have been nice to do it in real wood, but I'm not that much of a craftsman, not yet anyway. Actually, it's just that I'm really anal and it has to look good. I haven't worked enough with wood and staining to really know what I'm doing. Also, it needs to be big, because I have to fill a pretty big stage. Foam is great, because it's light. Also, I can cut and piece together a treasure chest in 2.5 hours. (Actual time was 1 hour to cut the pieces, 45 minutes to paint the front, 30 minutes to paint the back, and 20 minutes to glue it together)
Zombie Pumpkins wrote:I appreciate that you post photos of your process, from sketch, to assembly, to paint, to final product. I'm sure it serves as good reference for you when planning your future projects. But it's also educational for anyone who may stumble upon this topic and want to create something like you do.
Actually, I use these threads as a reference for when I started last year, how much was accomplished, and by when. :D
It helps me to plan out this year and feel good or pressured about my current state. So far, I'm feeling good :)

I take a lot of progress shots, because I plan to blog about how to make these things. However, I haven't blogged in about 2 years. I do post them here as well, so people can get an idea of how I did something and maybe it's helpful for when others are tackling their projects. Also, the whole party theme is a secret, so I can't talk to anyone but you guys about this. Showing the stuff here is very therapeutic :frank:
  • 1
  • 2
  • 3
  • 4
  • 5
  • 8